In this article, I’ll show you how to save filters in Lead Generated, so that you can save time and also export custom tables.
Support Navigation
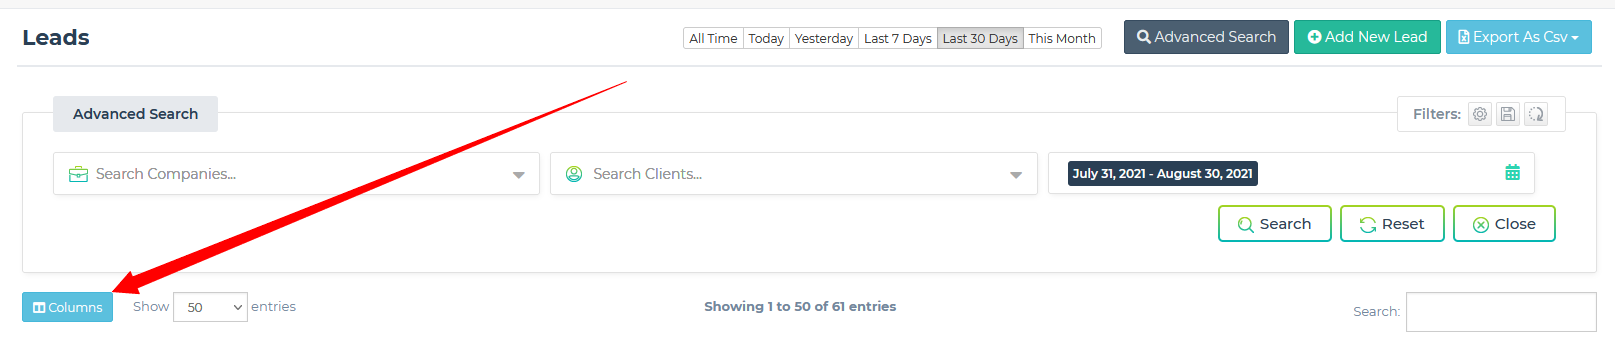
Step 1: Open the Columns Window via the blue “columns” button.
Step 2: Check the boxes next to the columns you’d like to save in that filtered table view.

Step 3: Click “Save” when all desired columns have been checked.

Step 4: Click the “Advanced Search” button

Step 5: In the upper right corner, in the “Filters” section, click the “Save” icon

Step 6: Name Your Custom Filter

Step 7: Reference Your Saved Custom Filter via the Gear Icon

Step 8: Select the “Saved Filters” Tab

Step 9: Select Your Custom Filter from the List
